


Tips
Tips for installing ceramic tiles and flooring
There are many factors involved when it comes to installing ceramic material. From the levelling and the type of cement, to the traffic that the pavement will support and the arrangement of the pieces. Everything counts in achieving a flawless result. There’s no point selecting the most spectacular finish or the highest quality tiles for our space if the installation work isn’t correct.
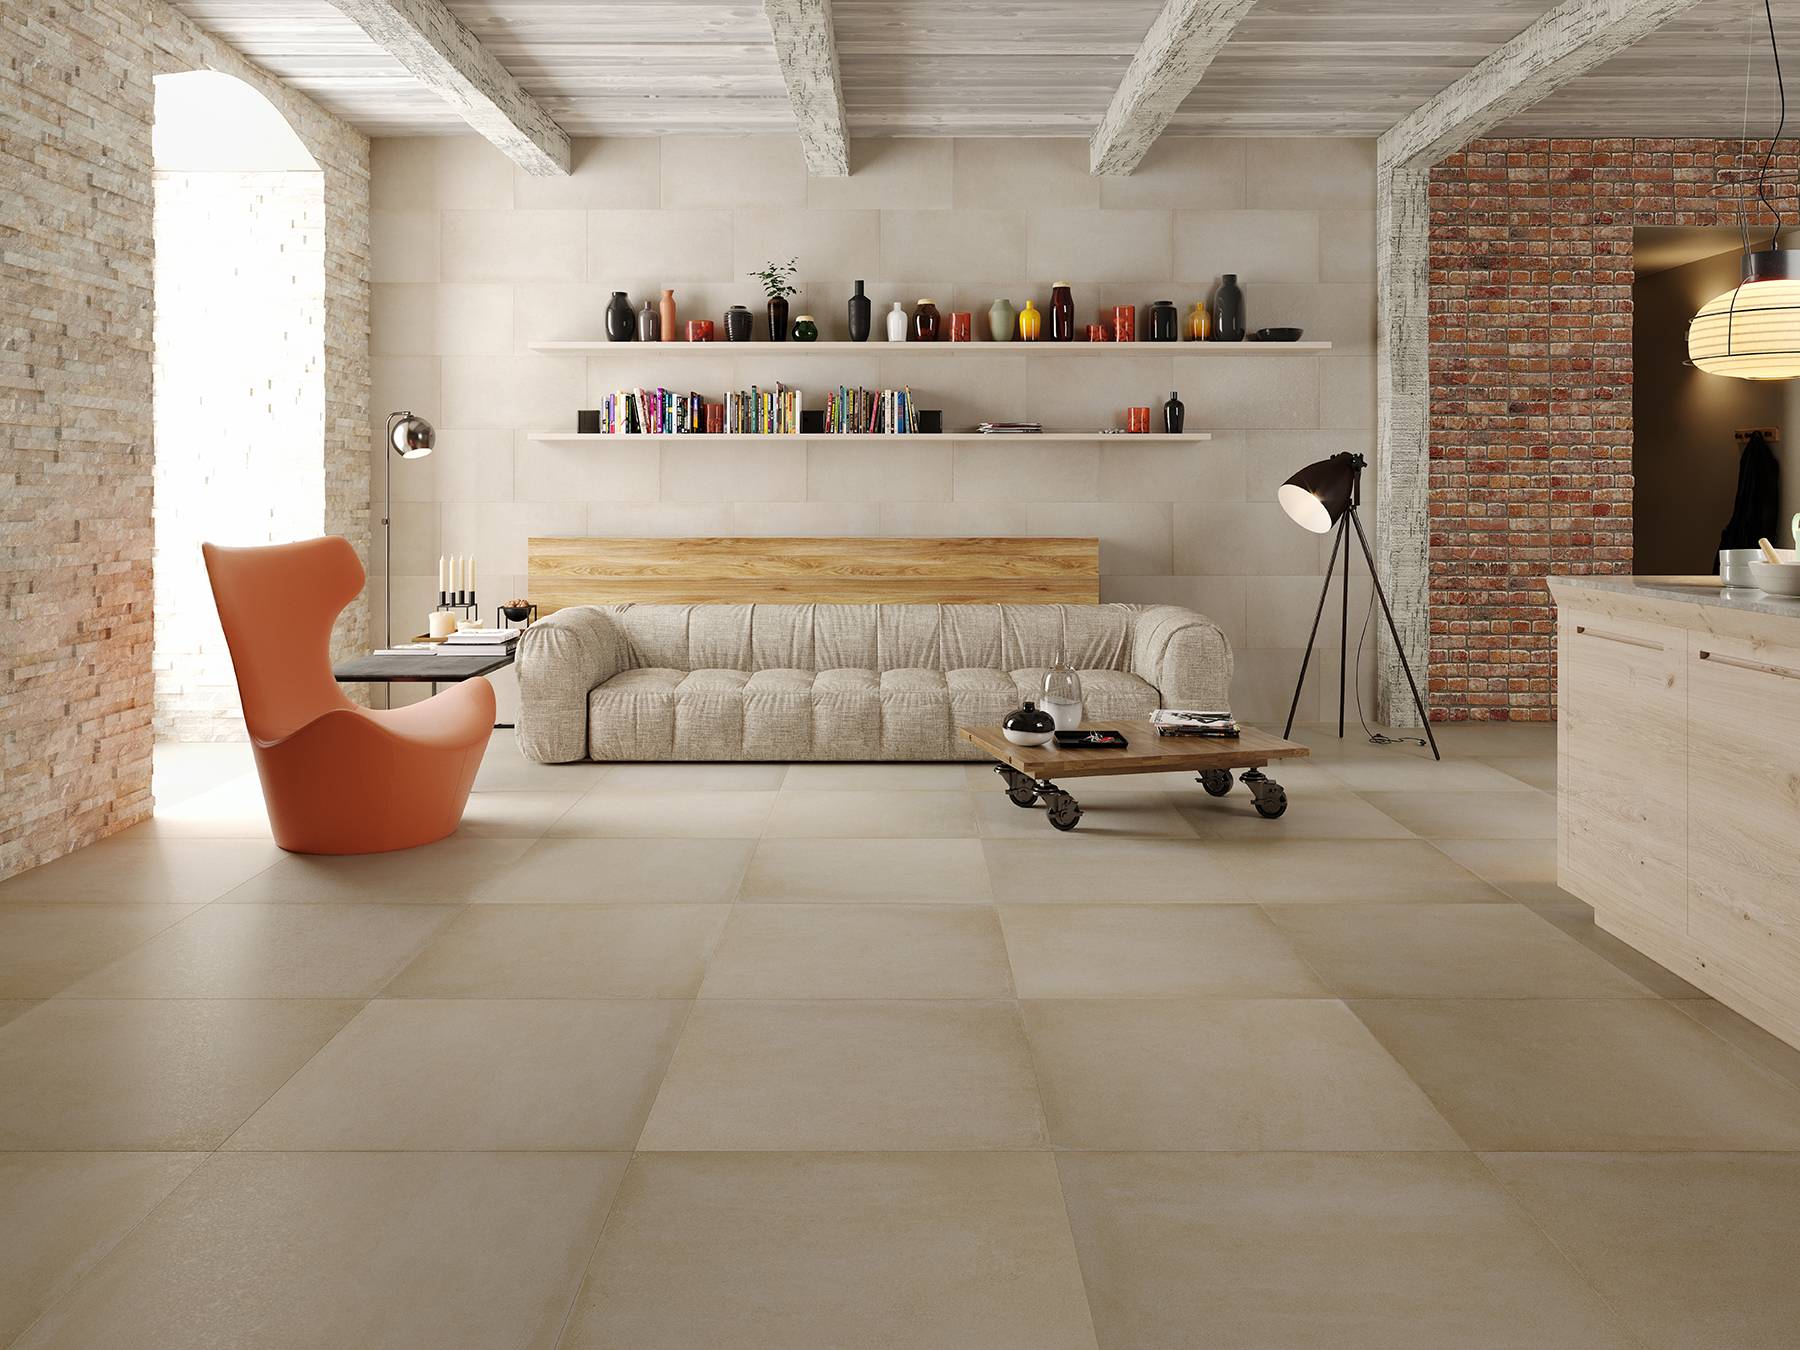
Inadequate installation of the ceramic product can tarnish the final result of a space. A badly done job will ruin the whole project. That's why it's important to follow the following guidelines when it comes to achieving an optimal result.
Before we begin, we need to prepare the tools and materials that will make our job easier. These are the main ones:
- Bonding cement with C-2 adhesion capacity, suitable for installing porcelain tile with water absorption below 0.5%
-Suction cups for handling the pieces
-Manual level, drawing pen and flexometer to make measurements
-Levelling wedges
-Crossheads
-Grout paste
-Pallet
-10 mm toothed trowel
-Bucket and mop or sponge
-Cleaning trowel
-Non-rigid flexible rubber mallet
-Adjustable traction clamp
Once we have everything we need, we can start the installation. We will always do this for the tiling process, to avoid possible later damage to the flooring. The most important thing is to respect the space so that the tiles can be installed later.
1. Check the levelling and adjust with self-levelling
The base on which the ceramic tile will be installed must be uniform so that there are no gaps between the tile and the support. During the setting process, it’s possible that small unevennesses may arise between the pieces, so it’s advisable to use levelling mortar to obtain a solid, smooth and uniform support that is totally compatible with the adhesives used before the flooring is installed. The self-levelling agent used can be for indoor or outdoor use. The thickness of the layer will depend on the traffic (light, commercial or industrial use) and the unevenness to be compensated.
It’s important to keep the surface on which the pieces will be placed clean of dust, grease, moisture and other residues.
2. Lay out the master line
The master line should be parallel to the flooring. This facilitates the installation of the first tiles and also makes it possible to use more ceramic material.
3. Decide on the position of the pieces
At Keraben Group, we recommend that deciding how to arrange the pieces is done on the surface itself, taking into account that each of the pieces has a customised design. If we want to achieve a surprising effect, we’ll use different designs on adjacent pieces.
Please note that if the pieces are large they must be handled by two people. To make the process easier, we can use suction cups to achieve greater adhesion and safety.
4.Select the right adhesive cement
The adhesive cement used to fix the ceramic has high elasticity and great adhesion. We must select this adhesive based on several factors:
- The type of ceramic we want to stick
- The place where we are going to install it (inside or outside)
- The climatology to which the product will be exposed
The typology of these adhesives is governed by common guidelines to make choosing them easier. It’s based on values of: adhesion, setting, slip and open time. There are different classes for each of these values, depending on their characteristics (normal, improved, fast-setting, low-slip adhesive...).
5. Spread the bonding cement on the levelled surface
We’ll prepare the mix according to the manufacturer's instructions. Once the right texture is achieved, and always following the established master line, we’ll spread the bonding cement over the previously compacted and levelled surface.
6. Spread the cement on the ceramic piece
We’ll spread the cement on the ceramic piece to create a double gluing effect on both the support and the piece. Make sure that the cement layer is uniform and has the same thickness on both sides. To do this, we’ll use a toothed trowel with a tooth size of 10 mm. We’ll distribute the adhesive perpendicular to the long side of the piece so that any air that may be underneath can escape.
7. Install the pieces
Once the back of the piece has been glued with the bonding cement, we’ll proceed to attach it to the surface, which we’ll have previously traced with the same cement. Ensure to always follow the traced master line.
To settle the piece, we’ll gently tap it with the flexible rubber mallet and thus eliminate possible air bubbles in the glue cement. We’ll continue placing the rest of the pieces, taking into account that a minimum joint of at least 2 mm must be kept between them. This distance can be maintained with the help of spacer crossheads.
For rectified floors and walls, we recommend
Raimondi's RLS Levelling System or similar. Using levelling systems for installing ceramic tile coverings has become widespread practice in recent years. Using these systems greatly benefits the final quality of the tiling. However, they do require an investment, in terms of both material and time while installing.
Today, there are a wide range of manufacturers and types of levelling systems on the market, each with its own particularities. In general, there are two types of levelling systems: wedge systems, in which the levelling pressure is exerted parallel to the surface of the tile with tongs, and bell systems, in which the pressure is exerted perpendicular to the tile with tongs or a manual threading system.
It’s important to remember that implementing the clamping and levelling system does not preclude continuing to include crossheads. This system does not replace, but rather acts as a complement.
How do I correctly position the recommended support?
1. Once we’ve spread the adhesive cement, place the supports under the pieces on all 4 sides. For large pieces, use more supports per side.
2. Put the tile in place and hit it with the rubber mallet.
3. Then we have to insert the wedges into the housing, squeezing but not reaching breaking point. To facilitate this task, we recommend using the adjustable traction clamp.
4. Once the adhesive cement has set, simply tap the support in the direction of the joint with the rubber mallet or your toe to remove it.
8. Pay attention to joints
There are some general recommendations for dimensioning the width of
a joint, depending on whether it is a tile installation joint (compensates dimensional deviations and is located between tiles); a perimeter joint (reduces stress at meeting points between elements that limit movement); a partition joint (prevents accumulation of expansion and contraction); or a structural joint (absorbs structural movements).
These recommendations can be found on pages 190-191 of our general catalogue, depending on whether the parts are to be installed indoors or outdoors.
9. Select the right grout
Similarly, Keraben Group makes some general recommendations, which can be consulted on pages 191-192 of our catalogue, regarding the grouting material to be used depending on the type of joint, whether the fixing surfaces are inside or outside, and whether the material to be installed is flooring or wall tiling.
10. Apply the grout and remove the excess material
Prepare the grout according to the manufacturer's instructions, lay it in the gap between the ceramic pieces and fix it according to the same instructions. Once the grouting process has been completed, we’ll need to remove the
excess before it hardens.
11. Final cleaning
After laying the tiles, it’s essential to clean them thoroughly to remove joint residues and general dirt from the work. Avoid using abrasive products.
Remember that inadequate installation of the product, aside from deteriorating the appearance of the project, can negatively influence the performance of the pieces used. By following these general instructions, we’ll ensure correct installation of ceramic floor and wall tiles to achieve a perfect result.

